

Osaka eSIM 2026: Unlimited Local Data & iPhone Setup Guide
Don't get lost in translation or navigation! Learn why data roaming is crucial for your Japan adventure. This guide covers the best eSIM options, including a review of unlimited local data plans and easy iPhone setup for Osaka and beyond.
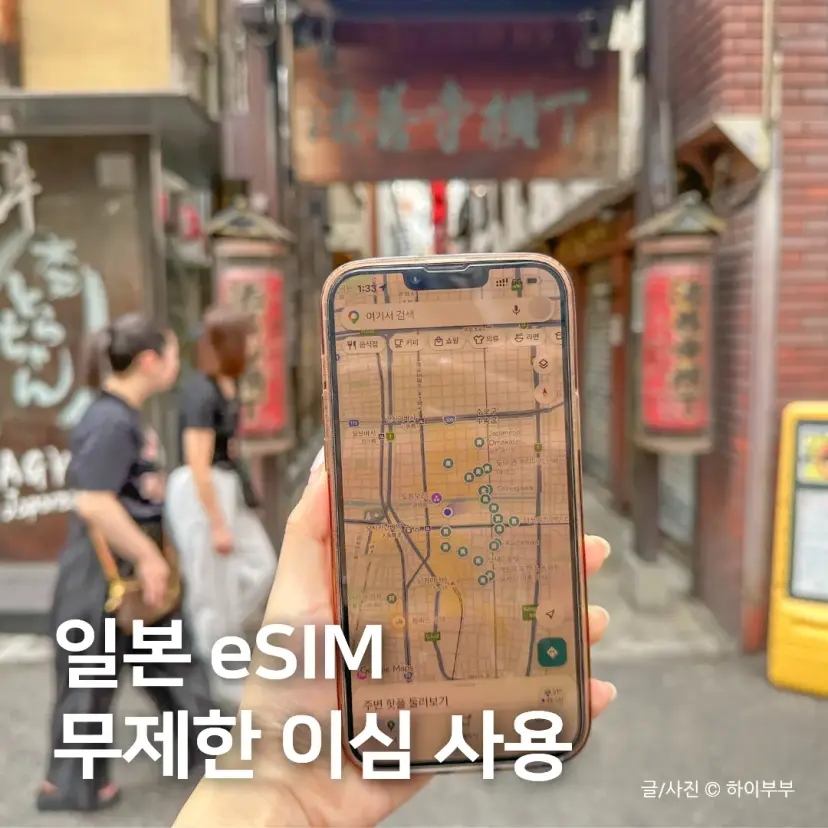
Review: My Unlimited Local Network eSIM Experience in Japan
How to Install an Osaka eSIM on Your iPhone
Text/Photos © Hi-Bubu
Before embarking on your adventure to Japan, there's one essential item you absolutely must prepare:
data roaming.
Without data roaming, navigating locally —
things like finding your way, using tickets, searching for amazing restaurants, or even using a translation app like Papago —
becomes incredibly challenging, if not impossible. It's truly limiting!
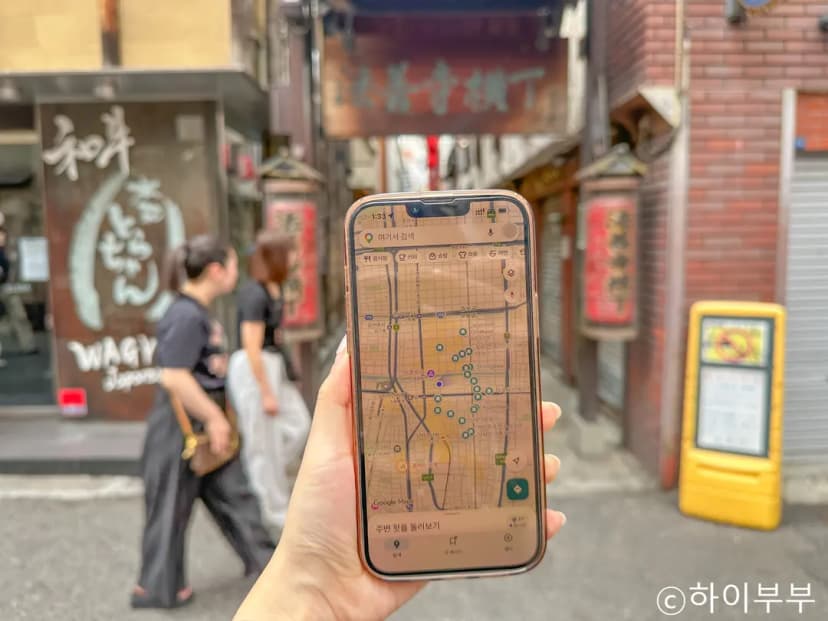
Today, let's explore the different types of data roaming and their pros and cons.
Then, I'll share all about the local network eSIM I personally use for every trip,
including how to install and use it!
By the way, if you're already an eSIM expert,
you can snag a discounted reservation through the link below.
Go ahead and book it now to start your seamless travel!
>> eSIM Discount Reservation Link <<
What are the Data Roaming Options for Your Japan Trip?
For those who might not be familiar with the various data roaming solutions,
let's first dive into the different options available.
1. Carrier Roaming
First up is carrier roaming, which many travelers still use.
It's essentially roaming provided by your home mobile carrier.
You can apply for it through your current mobile provider,
or even at the airport counter upon arrival, making it a super easy option to set up.
What's more, some roaming plans include free calls
or other special benefits. So, if you're someone who needs to make frequent business calls,
carrier roaming might just be the right fit for your travel style.
However, it's generally the most expensive option.
Plus, with modern apps like KakaoTalk Voice Talk allowing you to make calls using data,
many travelers find less need for traditional voice calls.
That's why personally, I don't often opt for this method.

2. Pocket Wi-Fi
Our second option is Pocket Wi-Fi.
This involves renting a physical device,
which allows you to connect multiple phones
or laptops to a single unit – quite convenient for groups!
However, the rental cost can be a bit higher
and the connection can become unreliable if you stray too far from the device.
This can limit its practicality when multiple people are trying to use it simultaneously across different areas.
But most importantly, you have to carry around a somewhat bulky device constantly,
which is why I haven't opted for this method recently.
3. Physical SIM Card
The third method involves using a local physical SIM card.
This straightforward approach requires you to remove your existing SIM card
and insert a local one.
It's a simple, intuitive way for anyone to get data roaming setup.
However, because you're physically changing the SIM card,
you won't be able to receive calls to your original number.
Also, since it's a physical chip that needs to be received,
last-minute bookings might make it tricky to pick up the actual card.
Nevertheless, for those using older phone models,
it's often a very affordable and sensible roaming solution!
4. eSIM
And finally, we have the eSIM – my go-to choice for every journey!
An eSIM lets you keep your existing physical SIM card
while downloading a new, embedded SIM profile directly to your phone.
This means you don't need to pick up a physical item; you can purchase and activate it anytime, anywhere.
What's more, because there's no physical product involved, it's often the most affordable option.
And the speed is just as robust as other methods,
making it a data roaming solution packed with advantages for the modern explorer!
However, there's just one tiny restriction:
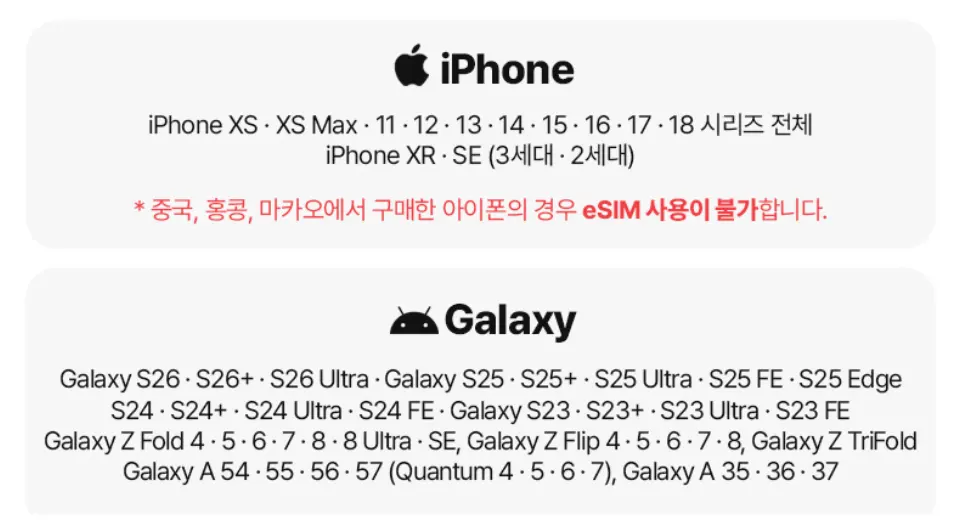
eSIMs are generally only compatible with relatively recent phone models.
As you can see in the photo below, for iPhones, you'll need an XS or later,
and for Galaxy phones, an S23, Flip 4, or later model.
Also, if you purchased your iPhone in China, Hong Kong, or Macau,
you won't be able to use an eSIM, regardless of the model.
Before you dive into using an eSIM, make sure to double-check if your device is compatible
by looking at the information below!
Japan eSIM Types & Data Recommendations
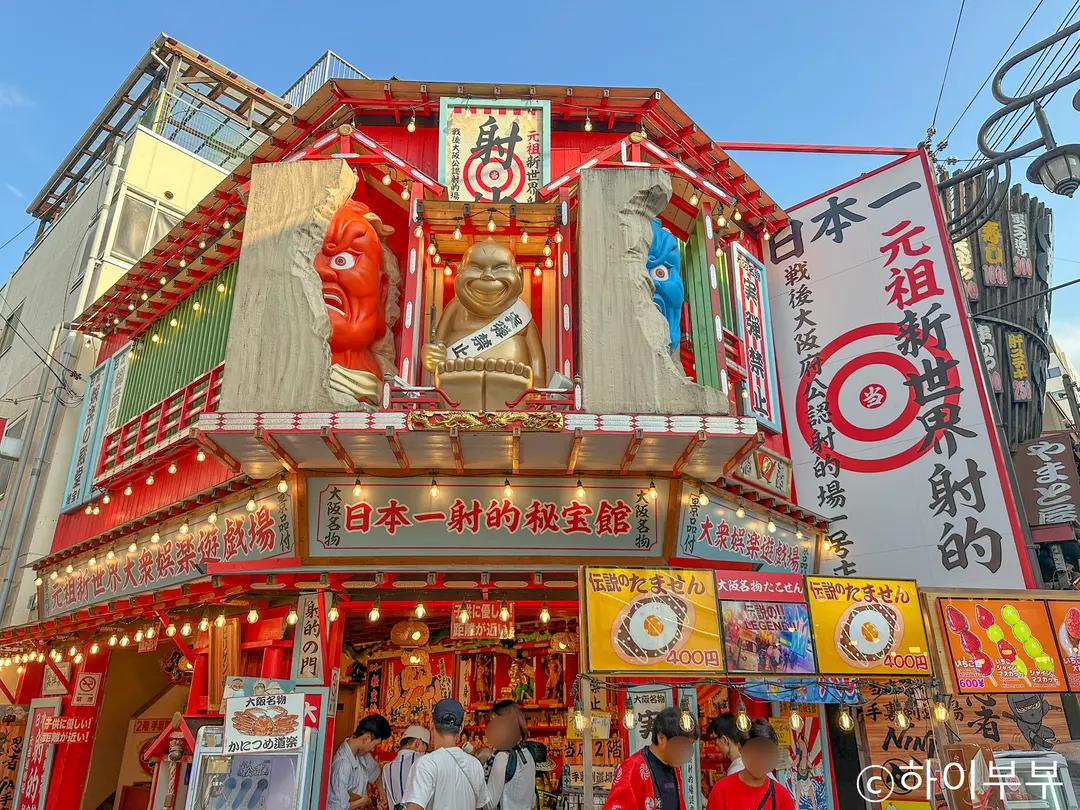
Next up, let's explore the different types of Japan eSIMs and figure out
how much data you might need for your adventure.
First, I've put together a simple table outlining the types of eSIMs available.
eSIM Type | Features |
4G Daily | An eSIM that provides 1-3GB of 4G data per day for a specified period. |
5G Daily | An eSIM that provides 1-5GB of 5G data per day for a specified period. |
5G Unlimited | An eSIM offering unlimited 5G data for a specified period. |
Broadly speaking, you'll choose between 4G and 5G data speeds, and
the daily data allowance you need.
First off, I wholeheartedly recommend going for
5G over 4G if you can.
While 4G can be perfectly fine in less crowded areas or for general use,
you'll definitely notice a difference in speed in urban centers.
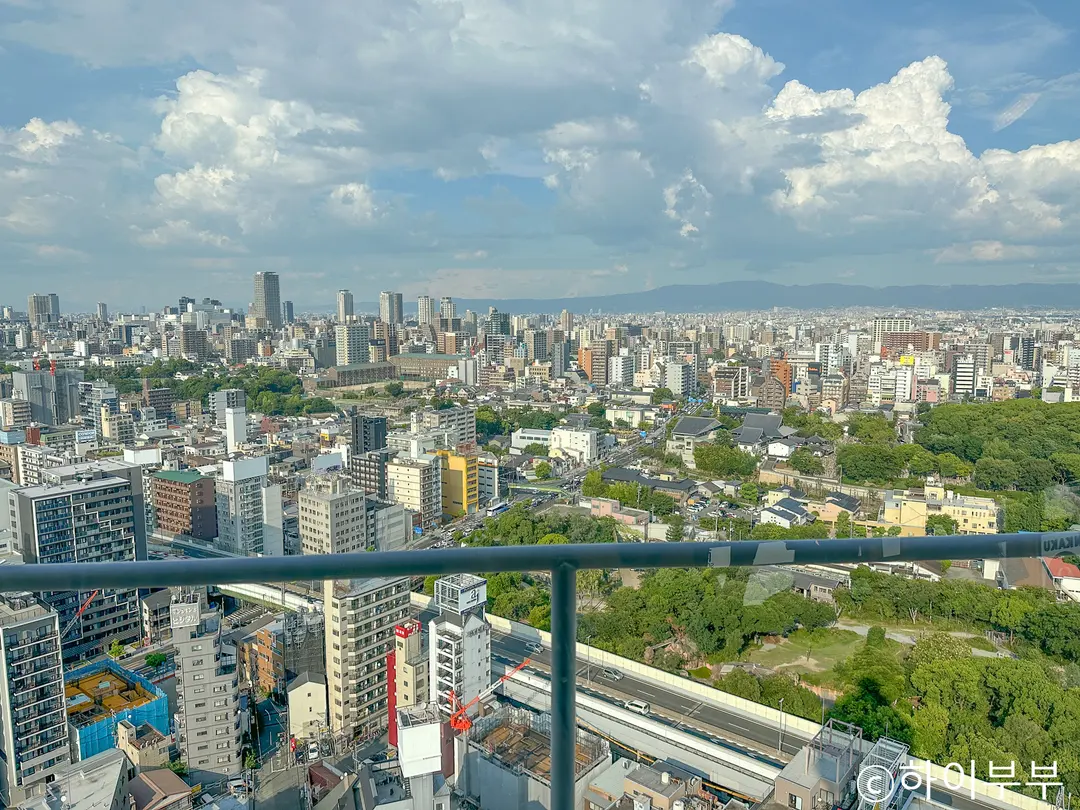
When it comes to data capacity, I suggest using the following
guidelines to pick what's best for you:
If you're mainly using maps and search functions, 2-3GB should be enough.
But if you plan on streaming lots of videos on YouTube, social media, or Netflix,
I highly recommend 5GB or even an unlimited plan.
Just a heads-up, 1GB can run out surprisingly fast!
Even after you've used up your high-speed data, you can still use a throttled speed of 128kbps,
but trust me, it can feel quite slow!
Comparing Prices for Japan's Unlimited Local Network eSIMs

While there are many types of Japan eSIMs and providers,
I consistently choose SoftBank's 5G unlimited
local network eSIM for my trips.
It's always been incredibly reliable, so I just stick with what works for me!
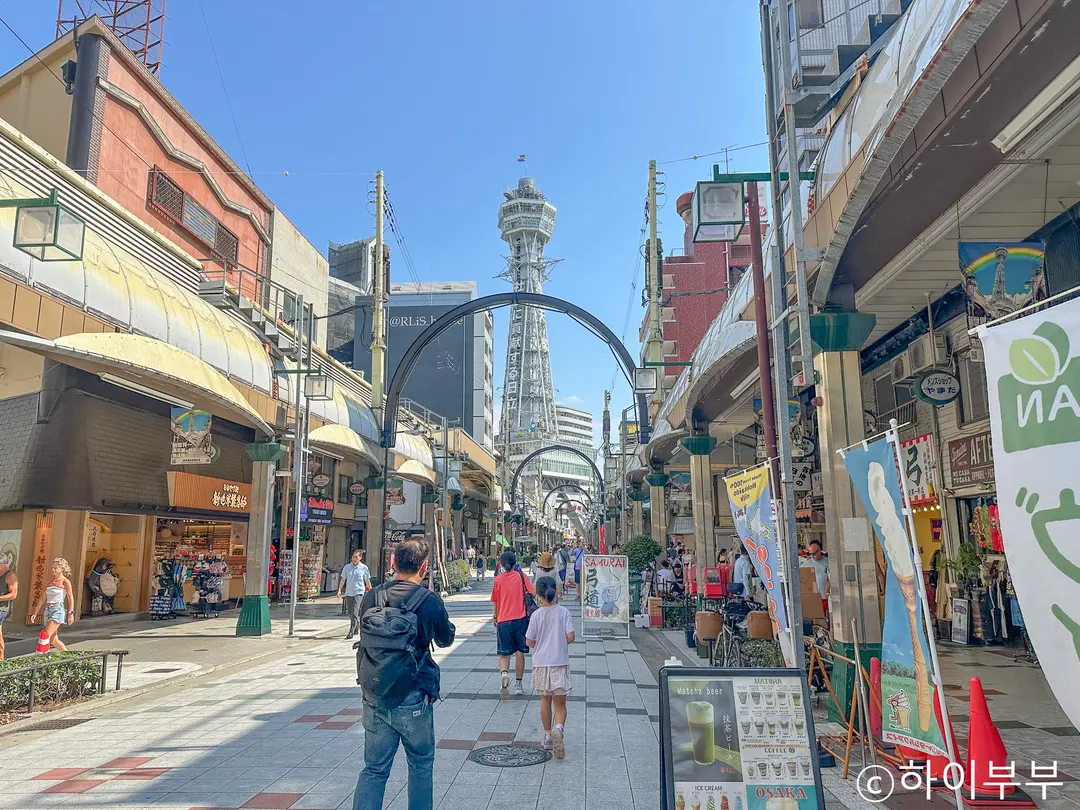
Below, I'll compare the prices based on the number of days,
using the eSIM I personally use as an example.
Usage Days | Discounted Price | Official Website Price |
3 days | ~$6 | ~$7 |
4 days | ~$8 | ~$8 |
5 days | ~$10 | ~$10 |
7 days | ~$13 | ~$14 |
Looking at the prices, even with unlimited data,
it's incredibly affordable at around ~$1-~$2 per day,
and I'm always satisfied with the fast speeds since it uses a local network.
You'll also notice in the table that there's a slight difference
between the official website price and the discounted price.
If you book through the link below, you can enjoy an eSIM at a
7% discounted price compared to the official website!
While I've only highlighted eSIMs for 3-7 days above,
The great thing is, you can choose a plan for anywhere from 1 to 30 days,
so you can perfectly match it to your travel itinerary!
My Experience Using an eSIM During My Osaka Trip
Alright, let's dive into my personal experience using a MalTalk eSIM when I explored Osaka.
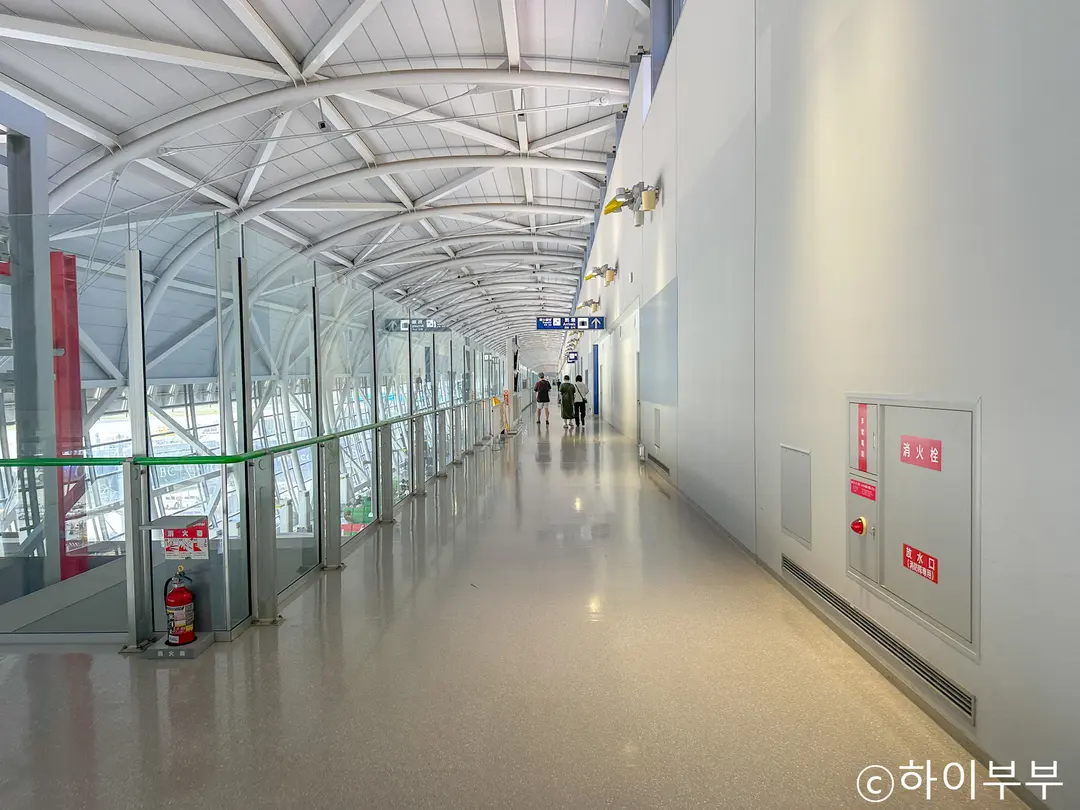
The moment my plane touched down at Kansai Airport,
I went straight to activating my eSIM.
Within a minute, my data connection was established,
and I was instantly able to use KakaoTalk.
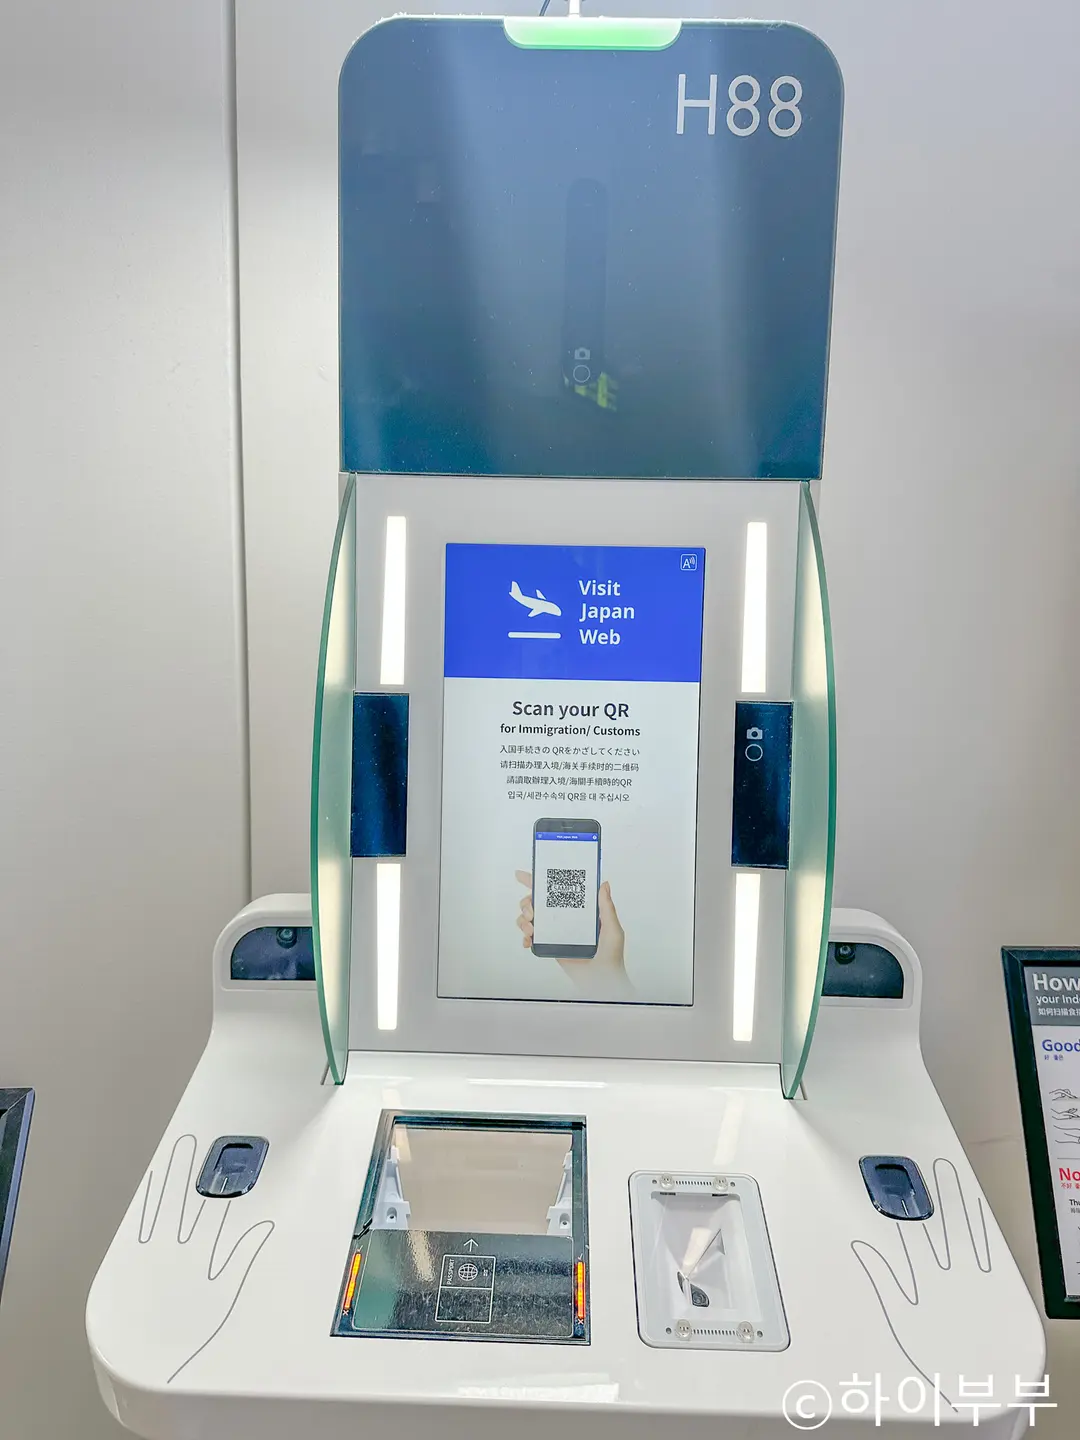
Upon arrival at the airport, one of the first things you need to do is
get your Visit Japan QR code ready.
With immediate data connectivity, accessing the Visit Japan website
to prepare my code was absolutely no issue.
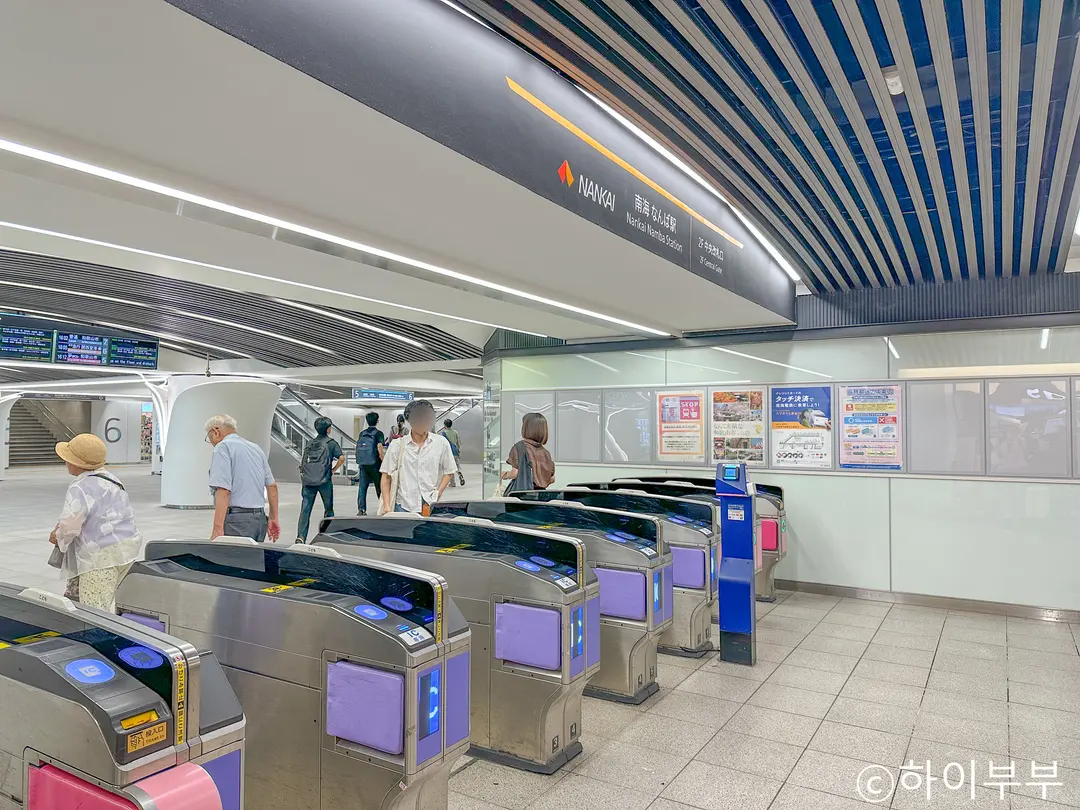
After breezing through immigration, I hopped on the Rapit train to Namba using my pre-booked ticket.
These days, almost all pre-purchased tickets are issued as online QR codes,
making data connectivity an absolute must.
Even with the bustling crowds at the station, my MalTalk eSIM
stayed reliably connected, allowing me to board without any delays.
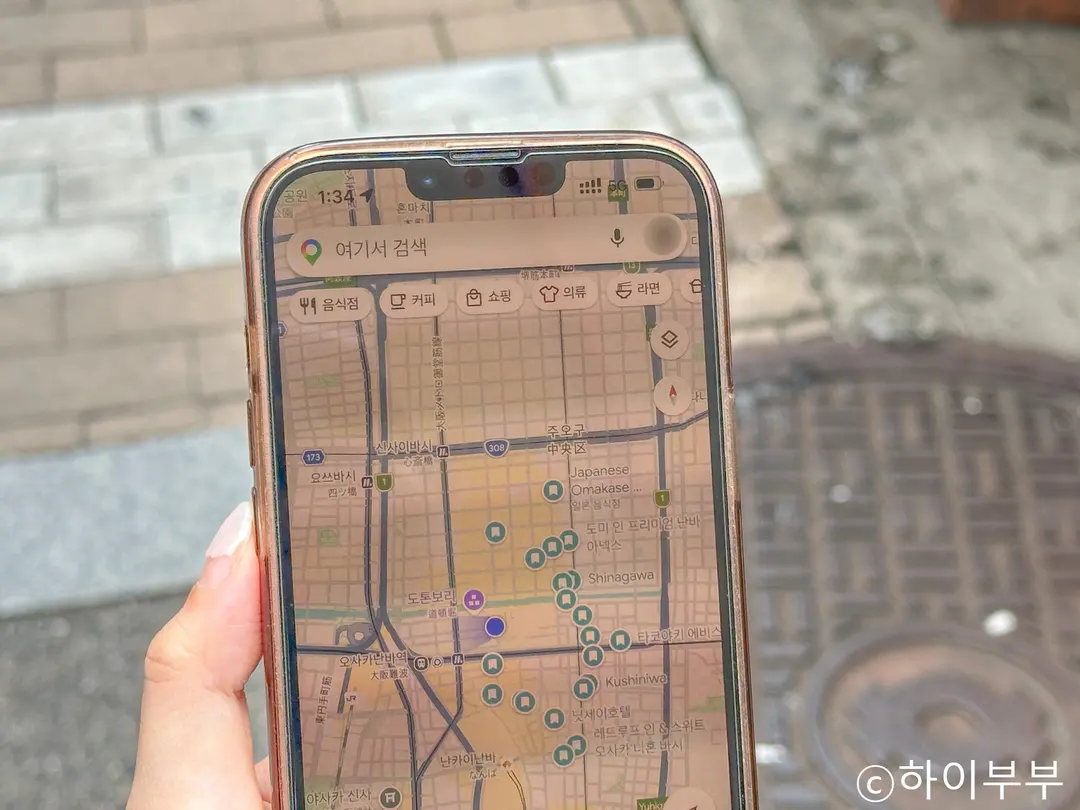
Once I ventured into the city, the app I found myself using most frequently was, unsurprisingly,
Google Maps. Not only did it guide me around, but I also relied on it daily to discover amazing restaurants.
If my data hadn't been so robust, searching for things would have been incredibly frustrating,
but thankfully, that wasn't an issue at all, and I could effortlessly explore all the best eateries!
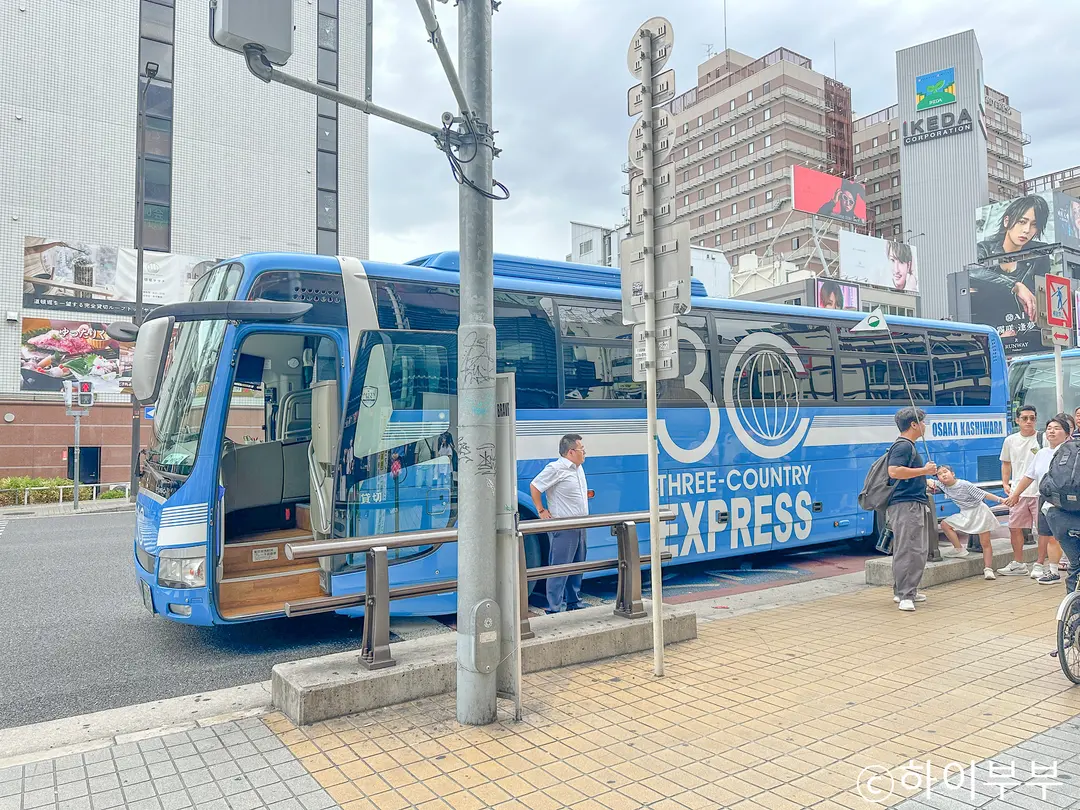
Finally, during a long bus tour, I continuously watched Netflix.
(And yes, there are some movies only available in Japan – a bonus discovery!)
With unlimited data, I didn't have to fret about my data usage,
and I could binge-watch videos for over four hours without a care, keeping me entertained.
This meant those long travel times flew by, totally boredom-free.
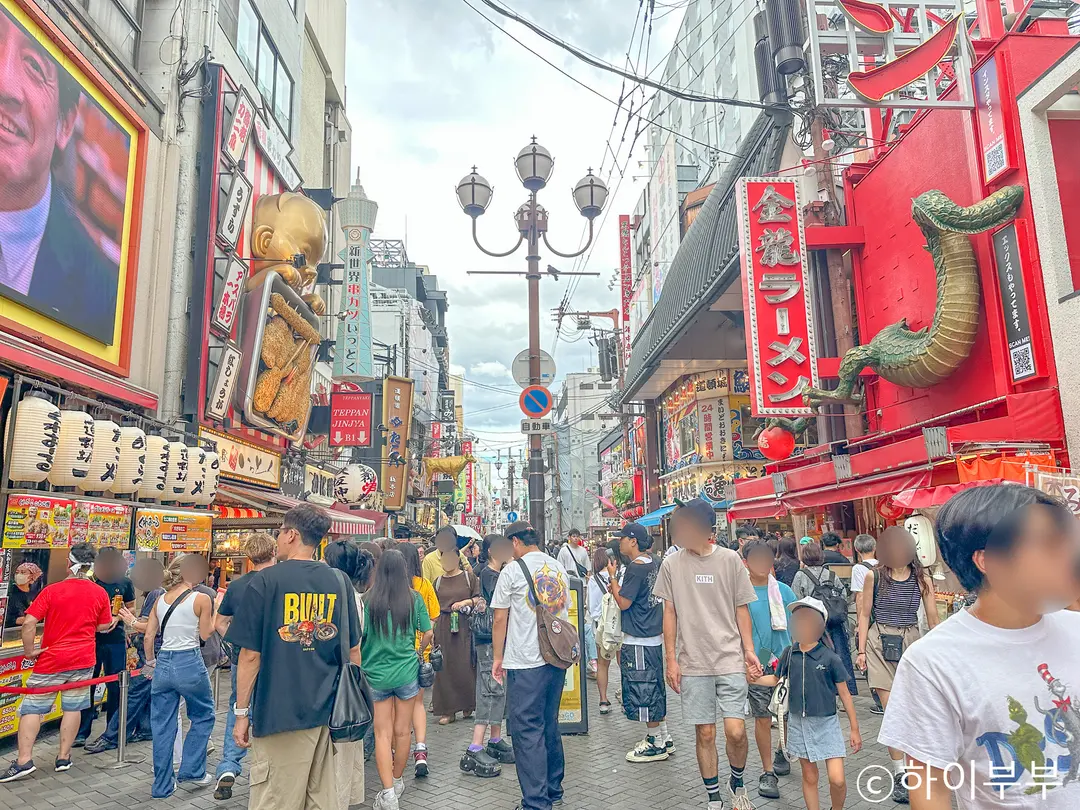
Thanks to MalTalk's unlimited local network Japan eSIM, my Osaka trip was incredibly smooth and hassle-free.
If you're still pondering your data roaming options for your next adventure,
I highly recommend checking out my experience shared today
and giving an eSIM a try for a truly cost-effective and seamless travel experience!
Frequently Asked Questions
Can all iPhone XS and later users use eSIM in Japan?
No, iPhones purchased in China, Hong Kong, or Macao cannot use eSIM, regardless of whether they are iPhone XS or later models. You must confirm that your device is compatible before using eSIM.
Which do you recommend for a trip to Japan, 4G daily eSIM or 5G daily eSIM?
The article recommends using 5G daily eSIM. While 4G can be used without major restrictions in general situations or less crowded areas, it mentions that 5G definitely offers a noticeable speed difference in urban areas.
What is the discounted price for using Softbank 5G unlimited local network eSIM for 5 days?
The discounted price for using Softbank 5G unlimited local network eSIM for 5 days is ~$10. This is a 7% discount from the official website price of ~$10.
How long did it take to activate the eSIM upon arrival at Osaka Kansai Airport?
When I activated the eSIM immediately upon landing at Osaka Kansai Airport, the data connection was completed within 1 minute. Thanks to this, I was able to use KakaoTalk right away.
What activities were you able to perform smoothly using MalTalk eSIM during your Osaka trip?
With MalTalk eSIM, I was able to smoothly prepare for Visit Japan QR, use the Rapi:t ticket online QR, and find directions and search for restaurants using Google Maps. Additionally, I watched Netflix for over four hours during a bus tour.
Share this article
Related Travel Stories

USJ Express Pass Review: Skip the Lines in Osaka
Planning a trip to Universal Studios Japan? Learn how to navigate the confusing ticket options and see exactly why the Express Pass is a game-changer.

Osaka Castle Tickets 2026: Hours & Amazing Pass Guide
Discover everything you need to know about visiting Osaka Castle in 2026, from ticket prices and opening hours to money-saving Osaka Amazing Pass tips.

Karaksa Hotel Osaka Namba Review 2026: Family Stay
Looking for the perfect family-friendly hotel in Osaka? Here is our honest review of Karaksa Hotel Osaka Namba, a budget-friendly gem near Dotonbori.

USJ Osaka Tickets 2026: Guide to Passes & Rides
Navigating Universal Studios Japan in Osaka can be overwhelming. Here is your ultimate guide to USJ tickets, Express Passes, and top attractions for 2026.

Oriental Hotel Universal City Review 2026: USJ Stay
Beat the massive morning crowds at Universal Studios Japan! Stay at Oriental Hotel Universal City for under $85 and master your USJ open run strategy.

Candeo Hotels Osaka Review 2026: Best Umeda Stay
Planning an Osaka getaway with family or friends? Check out our 2026 review of Candeo Hotels Osaka The Tower, a quiet luxury oasis near Umeda Station.