

Thailand eSIM Guide 2026: Easier Than a Physical SIM Card
Forget fumbling with physical SIM cards! Learn why a Thailand eSIM is the ultimate travel hack for 2026, offering instant data and hassle-free connectivity from the moment you land.
Thailand eSIM
eSIM vs. Physical SIM in Bangkok, Thailand
How to Set Up Your Thailand eSIM (Before You Fly)
Activating Your Thailand eSIM (Upon Arrival)
Top Thailand eSIM Recommendations
When traveling internationally, I’ve always leaned towards eSIMs for their sheer convenience, often prioritizing that over a slight price difference. But for Thailand, the pricing is almost identical to physical SIMs, and sometimes even cheaper! That’s why I’ve been a loyal eSIM user ever since.
Of course, if you're willing to hunt around at the airport, you might stumble upon a slightly cheaper deal. However, that takes precious travel time, and the whole point of an eSIM is to skip that hassle altogether.
eSIM vs. Physical SIM in Bangkok, Thailand
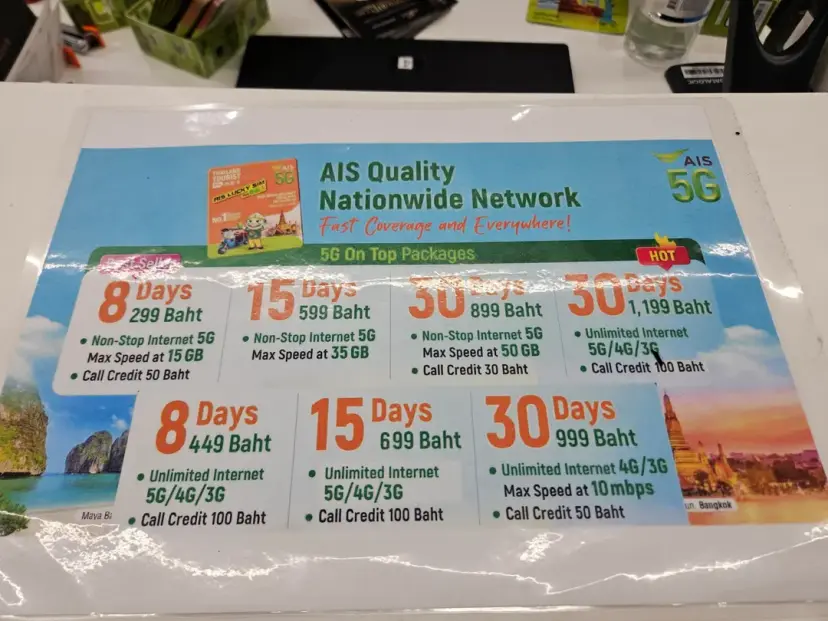
Here's a look at the AIS physical SIM rates I encountered previously at Bangkok's Suvarnabhumi Airport. For 8 days, 15GB of data cost 299 THB (which was roughly ~$8). An unlimited data option for 8 days was 449 THB (around ~$13).
Keep in mind, these were past rates, and by 2026, prices have likely adjusted. It would be great to compare these with current AIS eSIM rates, but honestly, since I switched to eSIM, I haven't even bothered stopping by a physical SIM counter at the airport. Maybe next time I'll make a point to check it out!
Given the fantastic convenience and competitive pricing, there’s really no reason not to stick with an eSIM.
How to Set Up Your Thailand eSIM (Before You Fly)
For all my international travels, I consistently use platforms like Klook and KKday. They're super user-friendly, and often have great deals, like a current 20% off promotion!
You can choose your preferred carrier; currently, AIS is widely considered the top choice for coverage and speed in Thailand.
>> Thailand 5G Unlimited eSIM (AIS) - Klook
>> Thailand eSIM | Real Future (Truemove) - KKDAY
Simply select your desired trip duration and data package. After completing your purchase, you'll receive a voucher via email containing a QR code. That QR code is all you need – you're all set!
Activating Your Thailand eSIM (Upon Arrival)
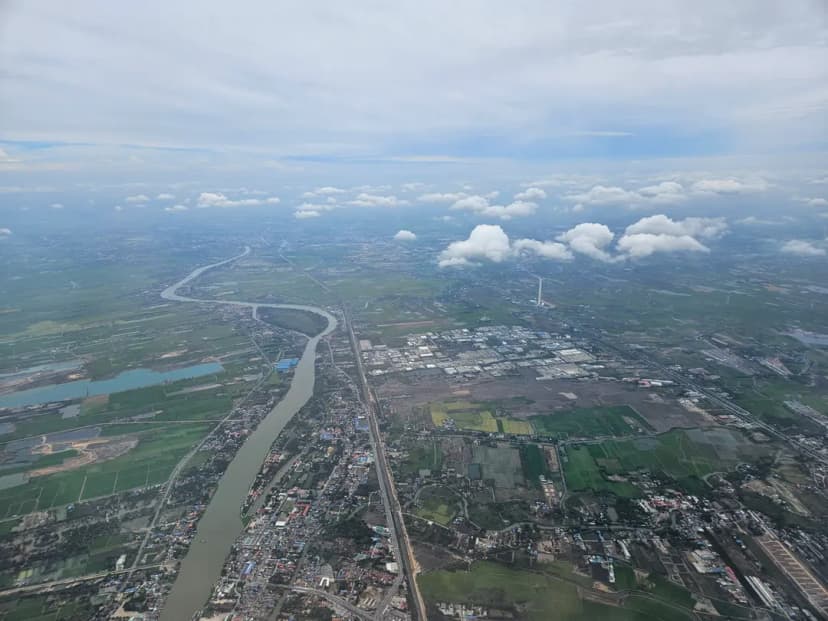
Once you land in Thailand, it's time to activate your eSIM. The process is straightforward:
Go to Settings >> SIM Manager (or Cellular/Mobile Data) >> Add eSIM >> Scan QR Code
Your phone's camera will open to scan the QR code. Instead of scanning a physical code, simply tap on 'Gallery' (or 'Photos') and select the QR code image you received in your email.
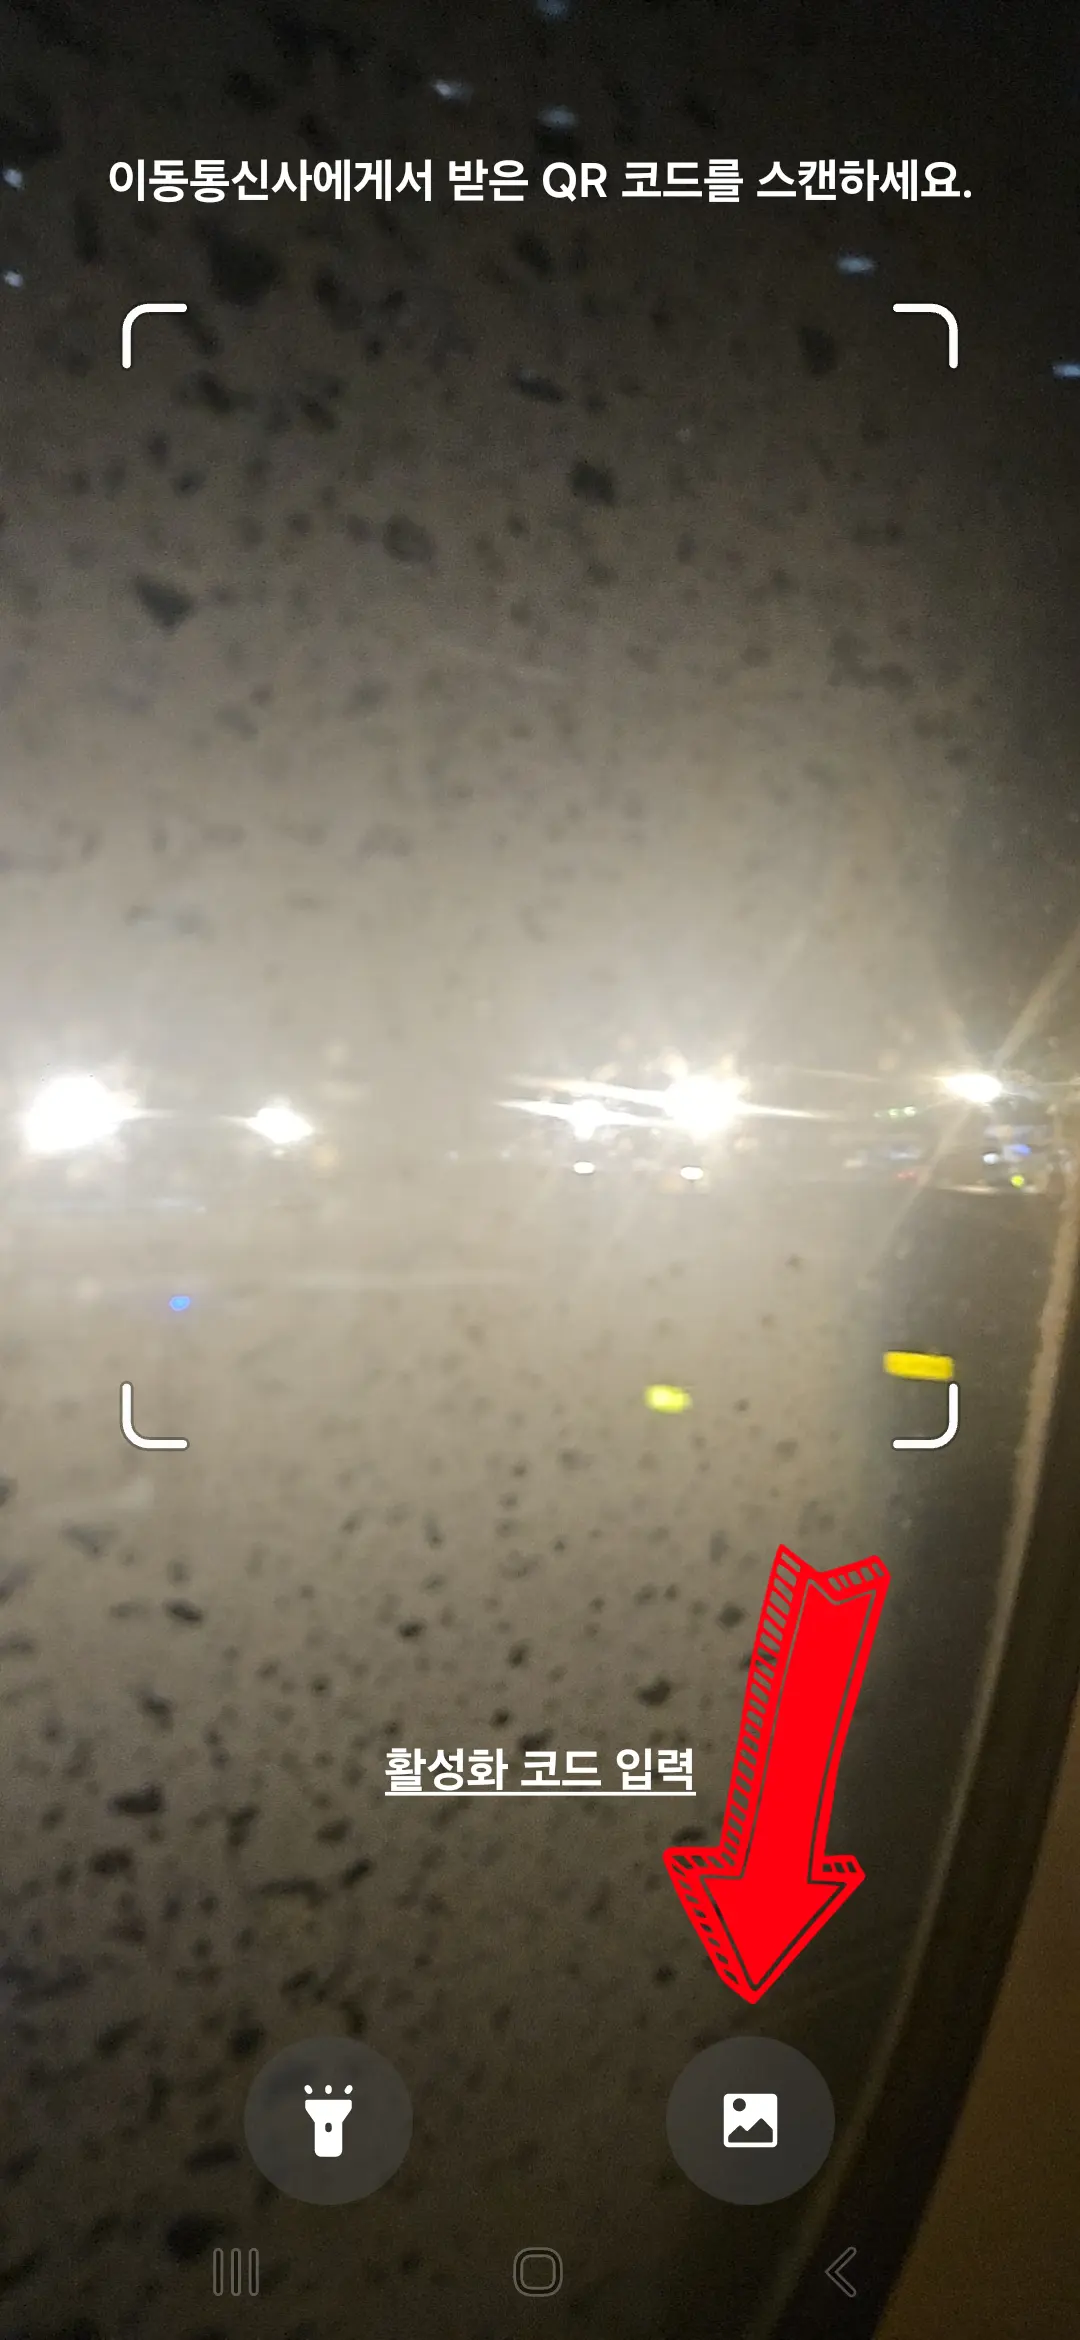
Your phone will ask if you want to add the eSIM; confirm to proceed. This will set up your phone with a dual SIM capability, meaning you'll have your home SIM and your new Thailand eSIM active. You can choose to keep both active or turn off your home SIM to save battery. Personally, I usually keep only one active to conserve power.
Top Thailand eSIM Recommendations
There's no doubt about it – eSIMs are significantly more convenient than traditional physical SIM cards. You don't need to fumble with swapping tiny cards, and the best part is you can be connected instantly from the moment your plane touches down!
Refer to the setup instructions above. While AIS is generally the go-to provider for its excellent coverage, you can explore other carriers through the links below:
>> Thailand 5G Unlimited eSIM (AIS) - Klook
>> Thailand AIS eSIM 5G High-Speed Unlimited Data - KKDAY
Using a Thailand eSIM truly cuts down on one less thing to worry about at the airport, making your arrival smoother and your mind lighter. If your phone supports it, embrace the convenience and enjoy seamless connectivity on your next Thai adventure!
Frequently Asked Questions
What is the 8-day data plan cost for the AIS SIM card at Bangkok Suvarnabhumi Airport mentioned in the article?
According to the article, the AIS SIM card purchased at Bangkok Suvarnabhumi Airport cost 299 baht for 15GB over 8 days (approximately ~$8). The unlimited plan for 8 days was 449 baht (approximately ~$13).
What platforms are mentioned in the article for purchasing a Thai eSIM, and which is the most recommended carrier?
The article mentions purchasing eSIMs through 'USIMSA', and platforms like Klook or KKDAY can be used. Currently, the most recommended carrier is AIS.
What is the eSIM activation procedure described in the article upon arrival in Thailand?
Upon arrival at the destination, you need to go to 'Settings > SIM Manager > Add eSIM'. After that, you can add the eSIM by scanning the QR code from the voucher received via email or by selecting it from your gallery.
Share this article
Featured in Collections
Discover more travel stories curated around the same theme.
Related Travel Stories

Bangkok's Best Techno & House Clubs 2026: Insider Tips for a Wild Night
Ready to hit Bangkok's electrifying techno and house clubs? Find out where to go, what to expect, and essential tips for spots like Culture House, 12x12, and more!

Bangkok Mahanakhon SkyWalk 2026: Day vs. Night Views
Discover the King Power Mahanakhon SkyWalk in Bangkok! Compare day vs. night views, get booking tips, and find out why this iconic skyscraper is a must-visit for breathtaking panoramas in 2026.
La Dotta Bangkok Review 2026: Authentic Italian Pasta & Lunch Set
Discover La Dotta, a casual Italian gem near Bangkok's Sala Daeng BTS. Their weekday lunch set offers excellent value, featuring robust pasta and exquisite tomato sauces. Perfect for travelers craving high-quality Italian fare.

Massilia Bangkok Review 2026: Vintage Vibes & Wood-Fired Pizza
Dive into our 2026 review of Massilia Italian Restaurant in Bangkok. Experience its unique vintage ambiance and decide if its wood-fired pizza and truffle pasta are for you!

Bangkok Itinerary 2026: Rainy Season Indoor Gems & IconSiam
Planning a Bangkok trip in the rainy season? Discover top indoor attractions and a smart eSIM tip to keep your 2026 itinerary smooth, even when downpours hit!

Samala Bangkok Asok Review 2026: Our 5-Star Mother-Daughter Stay
Join us for an honest review of Samala Bangkok, a new 5-star hotel near Asok Station. Discover why it was the perfect affordable luxury for our special mother-daughter trip!